
Most guides assume you’ve got cash, permits, and a pro kitchen. You’ve got… a mixer and a dream.
That’s enough.
I’m going to show you exactly how to go from hobbyist baker to legit home bakery owner — without draining your savings — and land your first paying customer in as little as 7 days.
We’ll cover the legal stuff, your startup budget, pricing math, and how to land your first sale — all on a shoestring.
What’s Inside:
The “Safe-Start” Checklist Before You Bake a Single Thing
Step 1 — The Legal Foundation: Navigating 2026 Cottage Food Laws
Step 2 — The $500 Bootstrap Budget: Where Every Penny Goes
Step 3 — Developing a High-Margin Menu
Step 4 — Branding and Marketing on a $0 Budget
Step 5 — Logistics: Packaging, Delivery, and Scaling
Step 6 — Common Pitfalls: Why Home Bakeries Fail in Their First Year
The $100 Flour-to-Profit Challenge
FAQ
✅ The “Safe-Start” Checklist Before You Bake a Single Thing
Run through this first. Every item matters.
☐ Verify your state’s Cottage Food Laws (skip this and you could get shut down after one complaint)
☐ Obtain a Food Handler’s Certificate (required in most states — takes one afternoon online)
☐ Set up a dedicated business bank account (mixing personal and business money is a tax nightmare)
☐ Finalize a 2-item menu (prevents overwhelm and wasted inventory)
☐ Take high-quality daylight photos of your products (no photos = no sales on social)
If you skip these, you’re guessing. If you complete them today, you’re in business this week.
⚖️ Step 1 — The Legal Foundation: Navigating 2026 Cottage Food Laws
Most aspiring home bakers skip this step. That’s a mistake.

Before you sell a single cookie, know exactly what the law allows — and what it doesn’t. Start here: Google “[Your State] cottage food law” and bookmark the official page. Do it now, before you read another word.
What Is a Cottage Food Law?
A Cottage Food Law lets you produce and sell certain foods from your home kitchen without a commercial license. Every state has its own version — some are generous, some are strict.
In many states, you can bake cookies at home and sell them at a Saturday farmers market — no commercial kitchen required. Many also allow direct sales from your home or online for local pickup.
Prohibited vs. Allowed Foods — The “Non-Hazardous” Rule
Your products must be “non-hazardous.” That means they don’t require refrigeration to stay safe.
Generally allowed:
• Cookies, brownies, cakes
• Bread and muffins
• Candy and fudge
• Dry mixes and granola
Generally prohibited:
• Cheesecakes and cream pies
• Anything with meat or seafood
• Products requiring refrigeration
Watch the gray areas too — cream cheese frosting, custards, and fruit fillings often cross into “requires refrigeration” territory. When in doubt, check your state’s department of agriculture website. It takes 10 minutes and saves you a fine.
Labeling Requirements — Staying Compliant for About $10-$20
Most states require a simple label on every product you sell. A basic compliant label includes:
• Your name and home address
• The product name
• A full ingredient list
• Net weight
• Allergen disclosure
• The statement: “Made in a home kitchen not inspected by the [State] Department of Agriculture”
Skip this, and you risk fines or being shut down after one complaint. Design a clean label on Canva for free and print a sheet of stickers for about $10-$20 at a local print shop.
State Spotlight — Recent 2025/2026 Law Updates
A few states made notable changes recently:
California — AB 1144 expanded allowed products and raised the annual revenue cap
Texas — Now allows online sales with third-party delivery in select counties
Florida — Removed the $50,000 revenue cap entirely for direct sales
Translation: rules are loosening — but only if you verify your state before you start selling.
💰 Step 2 — The $500 Bootstrap Budget: Where Every Penny Goes
This isn’t hobby money — this is your first real business setup.

| Category | Item | Estimated Cost |
|---|---|---|
| Legal | Food Handler’s Permit + Business License | $50 – $150 |
| Insurance | General Liability (FLIP or similar) | $25/mo |
| Equipment | Digital Scale + Sheet Pans + Basic Mixer | $150 |
| Supplies | Initial Ingredients + Packaging | $100 |
| Branding | Logo (Canva) + Business Cards | $0 – $30 |
| Total | ~$455 |
Everything here is lean. Equipment can be staged over time — but legal and insurance are non-negotiable from day one.
That’s one month of skipping takeout.
Inventory vs. Assets — What You Actually Need
Separate what you buy once from what you buy repeatedly. Track this in a simple Google Sheet — two columns: one-time vs. recurring.
Assets (one-time purchases):
• A reliable digital kitchen scale ($20-$40)
• Heavy-duty sheet pans ($15-$25 each)
• Airtight storage containers
Inventory (recurring costs):
• Flour, sugar, butter, eggs
• Packaging — boxes, bags, stickers
Track these separately from day one. It makes pricing and taxes so much easier later.
The Minimalist Kitchen Kit — Avoiding Shiny Object Syndrome
Most beginners overspend on gear before their first sale. Don’t be that person.
You don’t need a $500 KitchenAid to start. A $70 hand mixer does the job for most recipes. Buy what your first two menu items actually require — nothing more. Upgrade equipment with profits, not savings.
Licensing and Insurance — The Non-Negotiables
Two things you cannot skip.
Food Handler’s Certificate — Most states require one. Get it online through ServSafe or your local health department for $15-$30.
General Liability Insurance — One allergic reaction claim can cost thousands. Insurance turns that into a manageable problem. FLIP (Food Liability Insurance Program) offers coverage starting at $25/month. Set it up before your first sale.
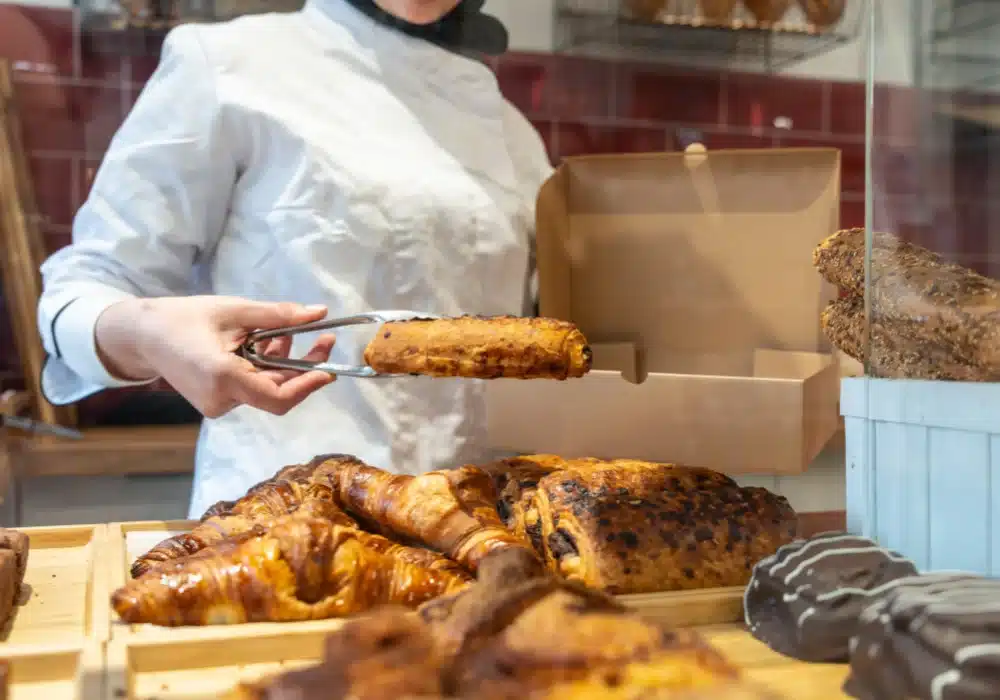
🧁 Step 3 — Developing a High-Margin Menu
More options don’t mean more sales. They mean more confusion, waste, and burnout.
Most beginners offer everything — twelve cookie flavors, five cake sizes, custom orders. It sounds like opportunity. It’s actually chaos.
The Micro-Batch Strategy — Why 3 Items Beat 10
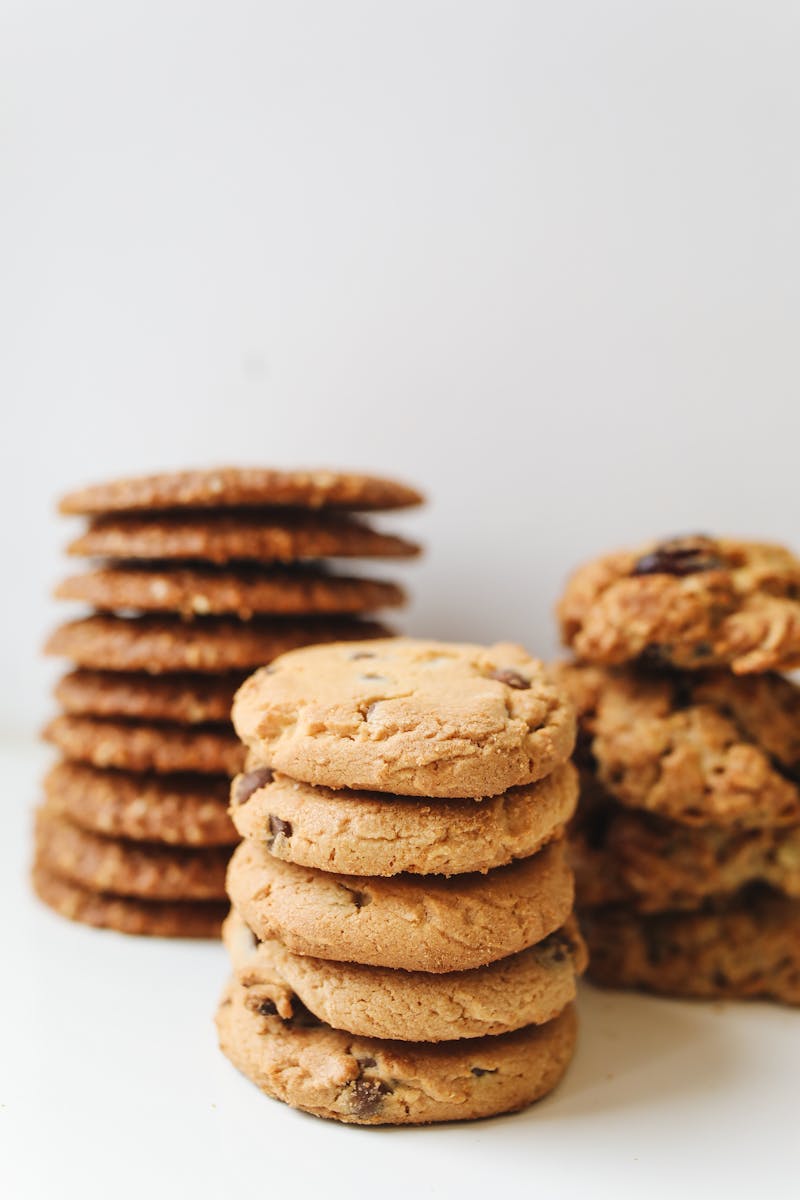
Start with 2-3 signature items. The most profitable home bakers stick to 2-3 items and sell out consistently. Pick products that:
• Use overlapping ingredients, last longer on the shelf, batch easily, and photograph well
Example — chocolate chip cookies, a classic brownie, and one seasonal item. Tight, profitable, manageable.
Calculating Your Oven Hourly Rate
Think of your oven as an asset. Every hour it runs costs you — utilities, time, wear.
If you skip the pricing formula below, you’re working for free — or worse, losing money.
Profit = Selling Price – (Ingredients + Packaging + Labor + Overhead)
Here’s a real example for a dozen chocolate chip cookies:
• Ingredients — $2.10
• Packaging — $0.75
• Labor (30 min at $15/hr) — $7.50
• Overhead (utilities estimate) — $0.65
• Total Cost — $11.00
• Selling Price — $18.00
• Profit per dozen — $7.00
That’s a 38% margin. Scale to 10 dozen per week and you’re making $280/week in profit from cookies alone. Now imagine doubling your volume or nudging your price up by $2 — small tweaks compound fast.
Price every product with this formula every time. Gut-feeling pricing leaves money on the table.
📱 Step 4 — Branding and Marketing on a $0 Budget
You have zero marketing budget. That’s fine. Your phone and a well-lit window are enough.

Start with this: post your first video today — no edits, no overthinking. Momentum beats perfection every time.
Leveraging TikTok and Instagram Reels for Local Discovery
Short-form video is the fastest free traffic you can get right now.
You don’t need a ring light or a script. Show the process, highlight the finished product, and capture behind-the-scenes moments. Rotate those three formats consistently.
Post 3-4 times per week. Use local hashtags and location tags on every post. Customers in your area are already scrolling.
The Nextdoor Strategy — Tapping Into Your Neighborhood
Nextdoor is underrated for home bakers. It’s a hyperlocal platform where neighbors actively ask for recommendations.
Post a genuine introduction — who you are, what you bake, and that you offer local pickup. Include a photo. Offer a small discount for first orders. Reply to every comment — early engagement builds credibility fast.
This can bring in your first 5-10 customers within a week.
Building a Link-in-Bio Storefront
Friction kills sales — the easier it is to order, the more orders you get. Set up your storefront before you start posting.
Square — Free online store, handles payments, sends order confirmations automatically. Best for straightforward item-based ordering.
Stan Store — Better if you plan to sell digital products alongside baked goods. Starts free.
Pick one. Set it up today. A customer who wants to order but can’t find a way to do it is a lost sale.
📦 Step 5 — Logistics: Packaging, Delivery, and Scaling
Great product plus a bad delivery experience equals no repeat customers.

Delivery is its own challenge. Keep it simple early on.
Sustainable Packaging That Doesn’t Break the Bank
Packaging is part of the product experience. Better packaging lets you charge more — it signals quality before the first bite.
Good budget options:
• Clear OPP bags with twist ties — cheap and clean-looking
• Kraft boxes from ULINE or Amazon — professional feel, affordable in bulk
• Custom stickers from Sticker Mule or Canva Print — add branding without custom printed boxes
Aim to spend $0.50-$1.00 per unit on packaging when starting out.
Managing Pickups — Safety and Convenience Tips
Local pickup is the easiest logistics model for a new home bakery. Set rules early — flexibility leads to burnout fast.
Set a pickup window — two days per week, two hours each. Communicate it clearly on your storefront and social media.
A few tips:
• Use a porch or garage — keeps customers out of your home
• Require pre-payment to avoid no-shows
• Send an automated reminder via text or email the day before pickup
As orders grow, consider partnering with a local coffee shop or boutique for a weekly drop-off point. It expands your reach without adding delivery time.
⚠️ Step 6 — Common Pitfalls: Why Home Bakeries Fail in Their First Year
These aren’t skill problems — they’re discipline problems.
Most home bakeries don’t fail because the baking is bad. They fail because of avoidable mistakes.
Underpricing — Charging what feels “fair” instead of what covers your actual costs. Run the pricing formula every time.
Overcomplicating the menu — Adding new items before mastering the first two. Resist the urge.
Skipping the legal steps — One complaint to a local health inspector can shut you down. Get compliant first.
No-shows and last-minute cancellations — Require prepayment. It filters out non-serious customers fast.
Burning out — Baking 40 hours a week from your home kitchen is exhausting. Set a weekly order cap early. Protect your time.
Imposter syndrome — The shift from “friend who bakes” to “business owner” is a mental one, not a skills one. You already know how to bake. The fix: charge for your next batch. That’s the shift.
🏆 The $100 Flour-to-Profit Challenge
Do this in the next 72 hours.

Can you make your first sale for under $100? No logo. No website. Just product and a post.
1. Pick one item — your best, most reliable bake
2. Buy one batch of ingredients (~$15-$25)
3. Package it cleanly (~$5-$10)
4. Post one photo on Nextdoor or Instagram with a price and pickup info
5. Take your first order
Your first sale funds your second batch. Your second batch funds your third. This is how most real home bakeries start — one batch at a time.
FAQ
These are the exact questions every new home baker asks — let’s clear them up.
Do I need a business license to sell baked goods from home?
It depends on your state. Most states require at least a Cottage Food registration and a Food Handler’s Certificate. Some require a business license too. Check your state’s department of agriculture website for exact requirements.
How much can I realistically make from a home bakery?
Part-time home bakers typically make $500-$2,000/month. Full-time operators with a solid customer base can make $3,000-$5,000/month or more. Your income depends on your pricing, order volume, and how well you control ingredient costs.
What baked goods sell the best from home?
Chocolate chip cookies, brownies, and custom celebration cakes are consistently top sellers. Seasonal items — pumpkin bread in fall, peppermint bark in December — also move well and command premium prices.
Do I need a separate kitchen to run a home bakery?
In most states, no. Cottage Food Laws specifically allow home kitchen production. A few states require a separate entrance or dedicated prep space — check your local rules.
Can I sell baked goods online and ship them?
Some states allow it, some don’t. Even where it’s legal, shipping adds cost and complexity. Start with local pickup and farmers markets first. Expand to shipping once your operations are solid.
What insurance do I need for a home bakery?
General liability insurance is the minimum. FLIP is the most popular option for home bakers — coverage starts at about $25/month and protects you against customer claims.
Now I’d Like to Hear From You
There you have it — a complete roadmap to starting your home bakery business in 2026 without blowing your budget.
Don’t just read — pick one step and finish it today.
Are you starting with legal research — or pricing your first signature item?
Drop a comment below. I read every single one.